Point Leo: Suicide

Suicide at Point Leo, is arguably poorly named and is surprisingly friendly for inexperienced wavesailors. The wave is a rocky reef break that is popular given its status as the closest true wavesailing spot to most of Melbourne’s population.
What people will often refer to as Point Leo, or Suicide is a large area containing several different waves. Most people do not windsurf the true Suicide Point wave, instead sticking downwind through ‘The Hump’ running towards ‘Sometimes’ – the left that breaks between Crunchy Point and Suicide.
This is a difficult wave to ride from a high performance perspective due to the flat sections and thin (sometimes non existent) lips. The wave requires patience to allow the sections to form up and experience to get the right timing between too early (fat) and too late (whitewater). The wave does not offer much momentum to hold rail for powerful bottom turns and quickly loses it’s energy after breaking – making it a decent option for beginner-intermediate riders to build up some confidence in the surf.
Optimal Conditions:
WSW wind, 25+ knots with a solid 8ft+ ground swell and mid to high tide.
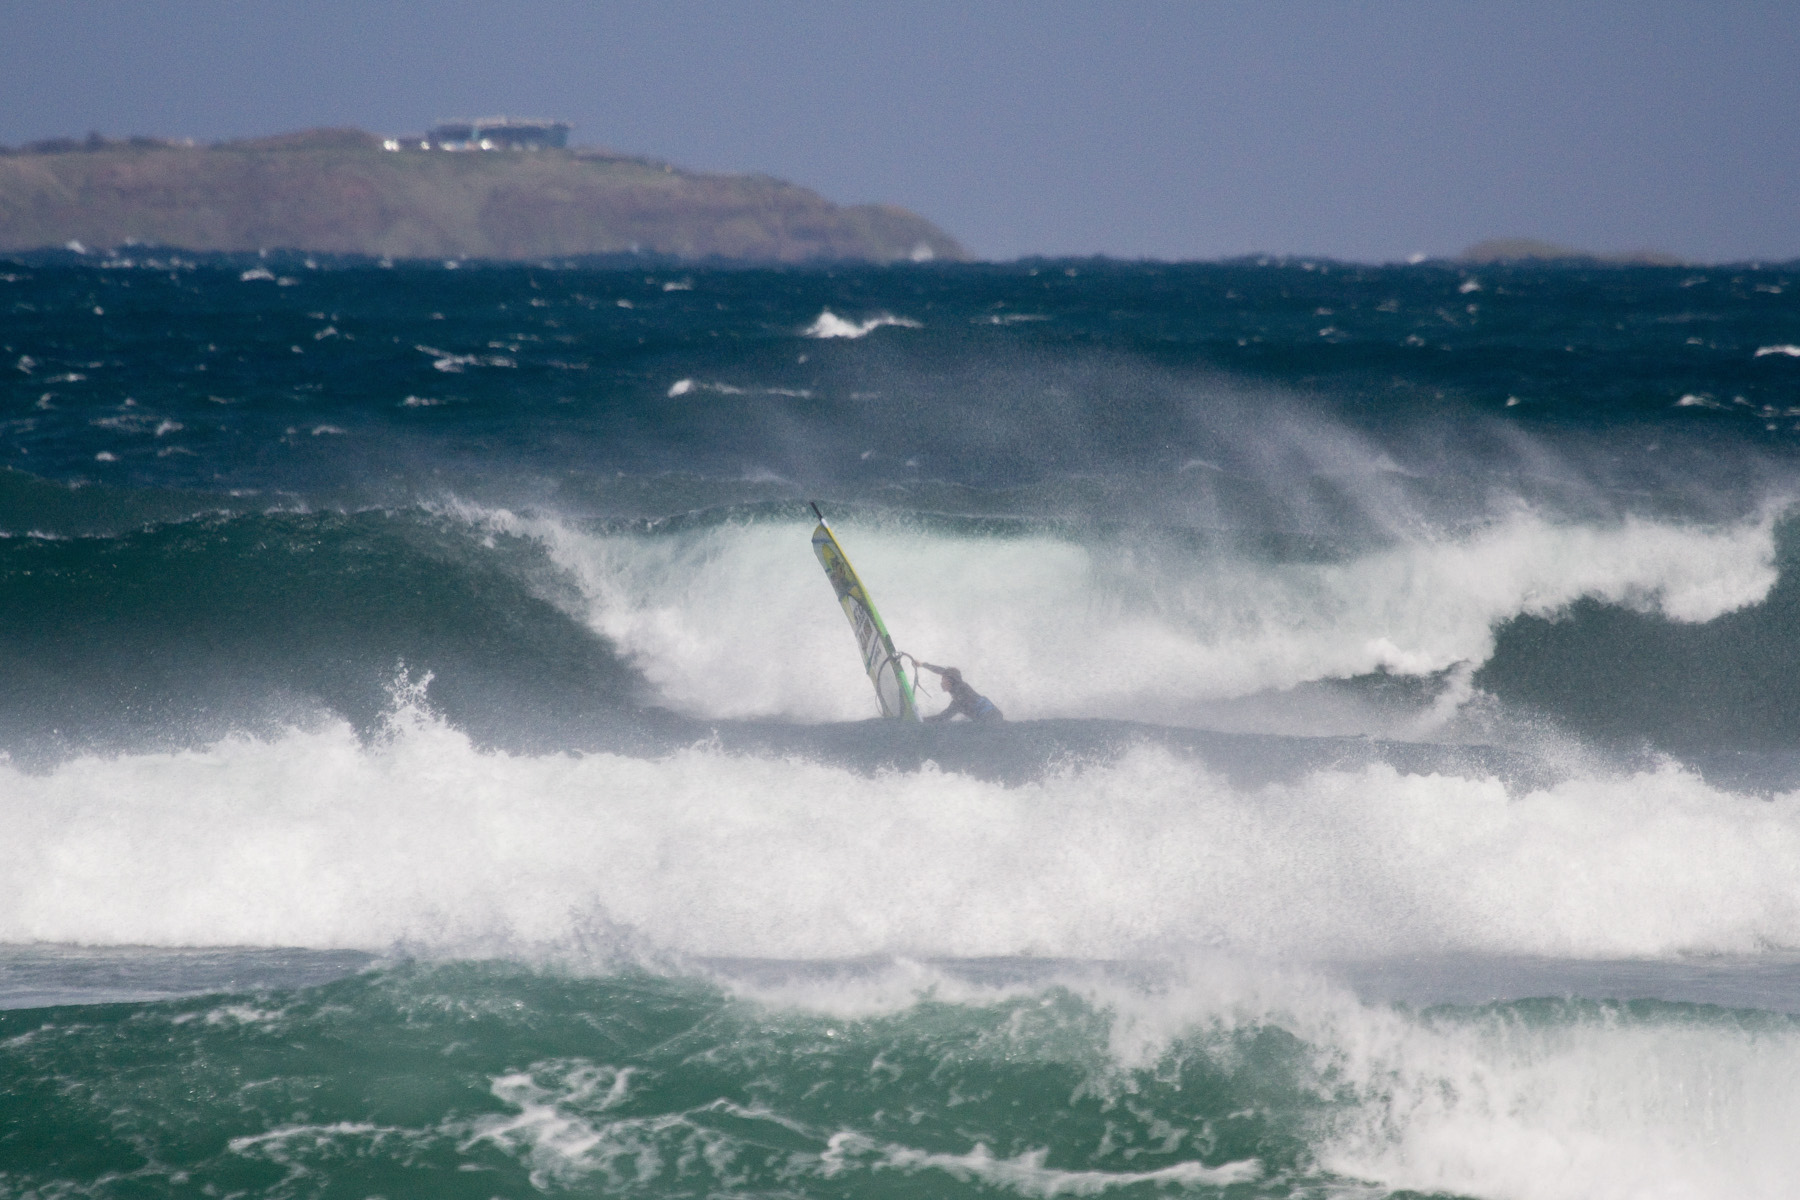

Above: Steeper faces at Suicide Point proper. Mistiming this section without a high enough tide means eating rocks and probably destroying some equipment.
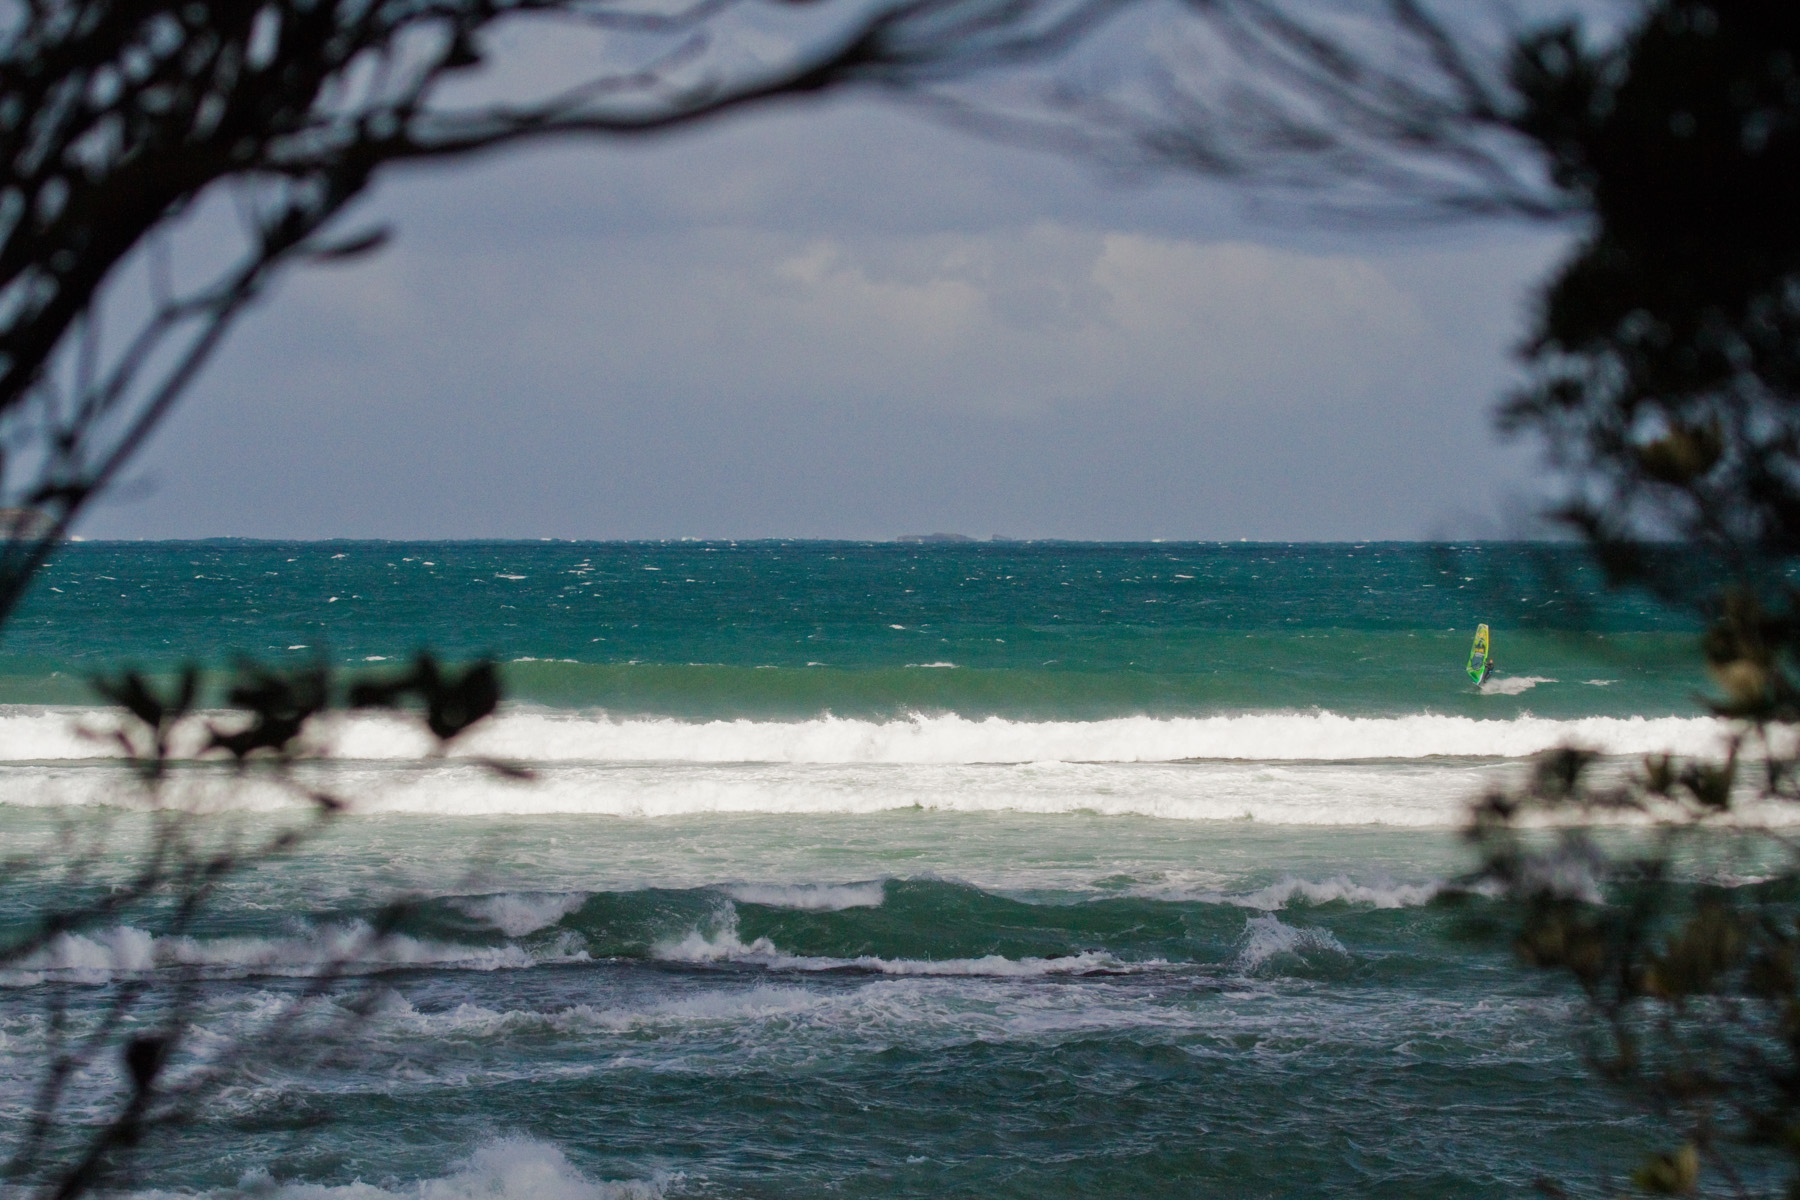
Below: More typical, fat waves with large dead spots between steeper sections that you’ll see through ‘The Hump’ section heading down wind.
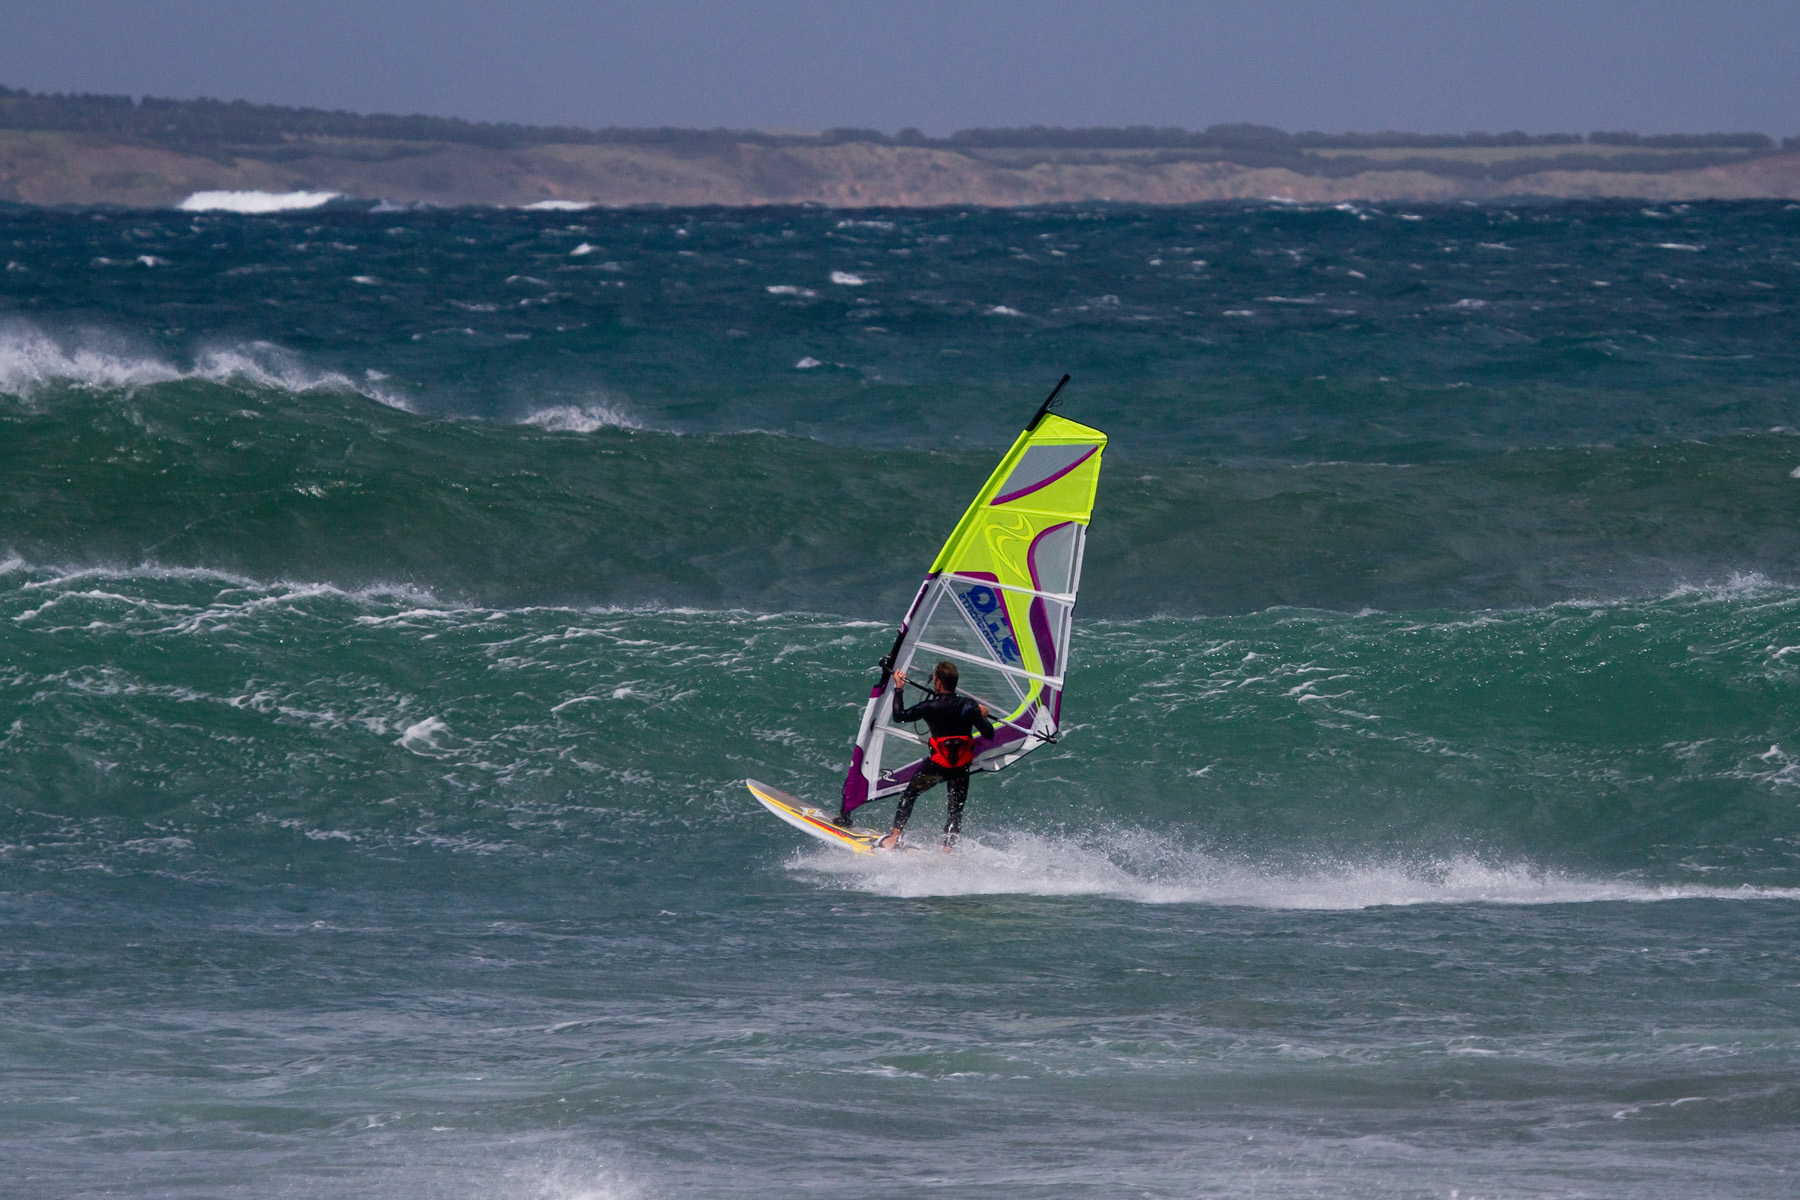
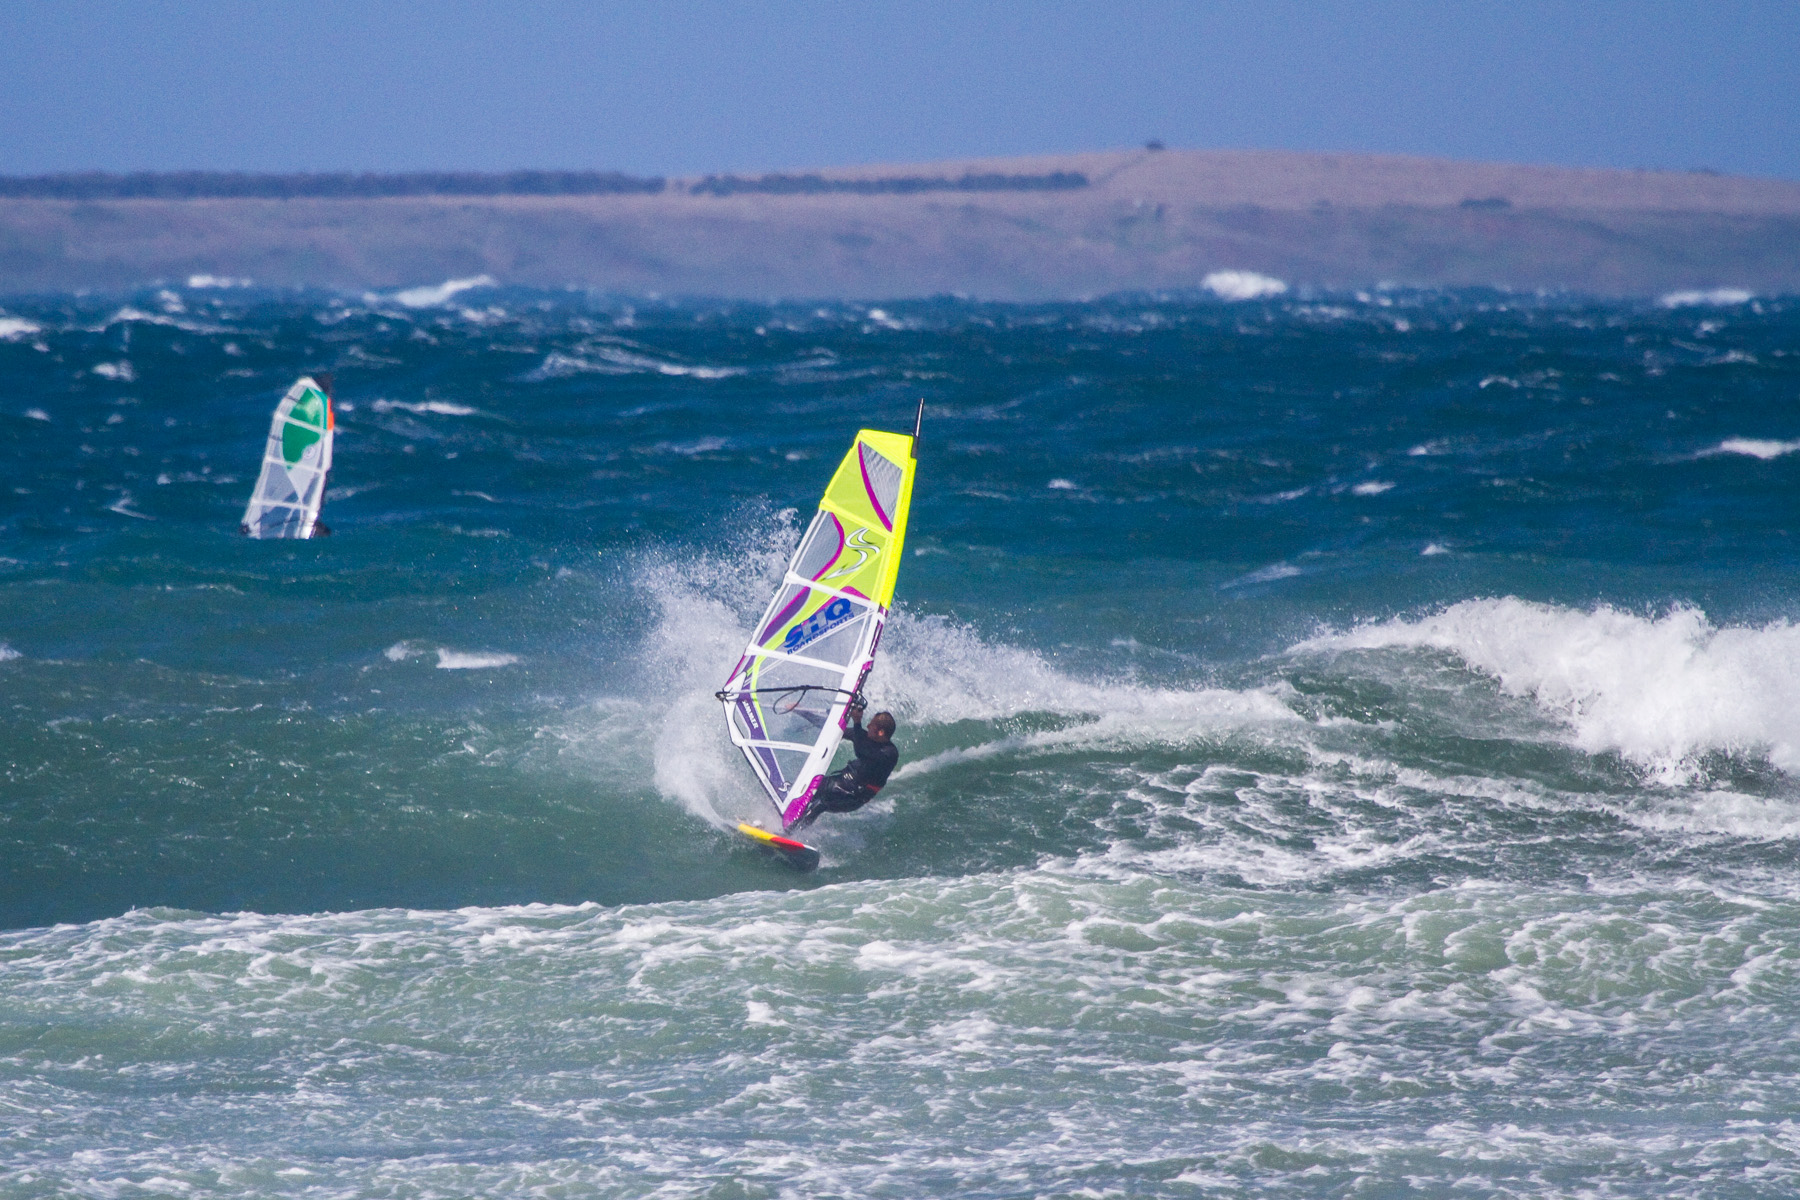
Above: This sequence shows where most people start their rides, just after the end of the proper Suicide wave. With good timing it is possible to sneak one good turn in before the wave flattens off again. It is important to stall, and patiently wait on the swell at this point to avoid completely outrunning any steep faces through ‘The Hump’.
Key Stats:
Wind Direction:
Technically sailable on anything between W-SW, Suicide is best on a true WSW wind. Too West and the wind is likely to be very fluky with wind shadows on the beach, and too South makes down the line riding difficult (although it can be decent for jumping).
Swell:
Situated deep in Westernport, Suicide needs a solid swell before it turns on. A 5-6ft swell on the open beaches will see some small waves breaking here – potentially ideal for inexperienced riders. Keep in mind, a high tide will swallow up any weak or small swell turning the break almost flat. The best days at Suicide are big, powerful ground swells – 8ft+ on the open beaches.
Refer to notes on wave height.
Tide:
The Point Leo area is very rocky in general, with large chunks of rock forming the reefs that the waves break on – making tide a critical element for a good session here. At Suicide, many of these rocks drop straight off into deeper water – creating the steep but then quickly fat sections of these waves. Low tide is not usually an option, but is useful to see what lies beneath. Mid tide is ok for smaller swells through ‘The Hump’, but generally high tide is preferred.
Rider Level:
Despite the name, Suicide is a good option for inexperienced riders to try their hand at some wavesailing. On a moderate swell, strong WSW and mid-high tide the small waves are soft and forgiving, quickly losing their energy as they break. The only real challenge is navigating the rocks and shorebreak when launching and coming back in.
On big swells, Suicide can break around mast high, and although it is relatively gutless for the size, people do get caught inside and washed over the rocks towards Crunchies. The shorebreak can also become menacing on high tide.
Hazards:
Rocks & Reef
Various sections of rock can create problems windsurfing here depending on the tide and swell size. The most obvious rocks to watch out for are:
- The main suck rock at Suicide – this is obvious from the more violent way the wave breaks and the rock will be visible on lower tides.
- The rocks in the recommended launch spot, just downwind of the stairs. Many people jump on their boards too early and will sink straight into the rocks. Walk out a bit further to avoid this.
- There are rocks coming in slightly downwind in what looks like a sandy patch from the water. Slow down and jump off earlier than you think.
- There are shallow rocks where the left breaks back towards Suicide on the SE end of the reef slab that connects to Crunchies. The last hit on the wave as it closes out is tempting, but is risky unless the tide is high.
Shorebreak
The shorebreak in its own right wouldn’t be a major issue if it was breaking on sand, but the two main launching and landing spots are full of rocks. On big swells and high tide, the shorebreak can be sizeable making it potentially dangerous (mainly for your equipment) to navigate. This problem becomes far worse on days with gusty or light wind.
Crowded
Point Leo is a popular spot. When Suicide is on, it is popular with windsurfers – including a strong local crew, kiters and sometimes surfers even when it is windy. The local riders know their spot very well and ride it better than most – be aware of proper etiquette in the lineup.
Minimal Safe Space Downwind
Breaking gear or being caught inside on a big swell will typically mean an unwanted trip over the reef towards Crunchies. The swell and current rip north through Crunchies into the deeper water of the bay. If the tide is high enough, it is important to try and keep your sail from spearing the reef as the waves break on you. If the gear is intact, you should be able to get going eventually once the current takes you out of the wind shadow from the headland and sail back upwind. If the tide is not high enough, then gear getting smashed on the rocks is virtually guaranteed on a solid swell.
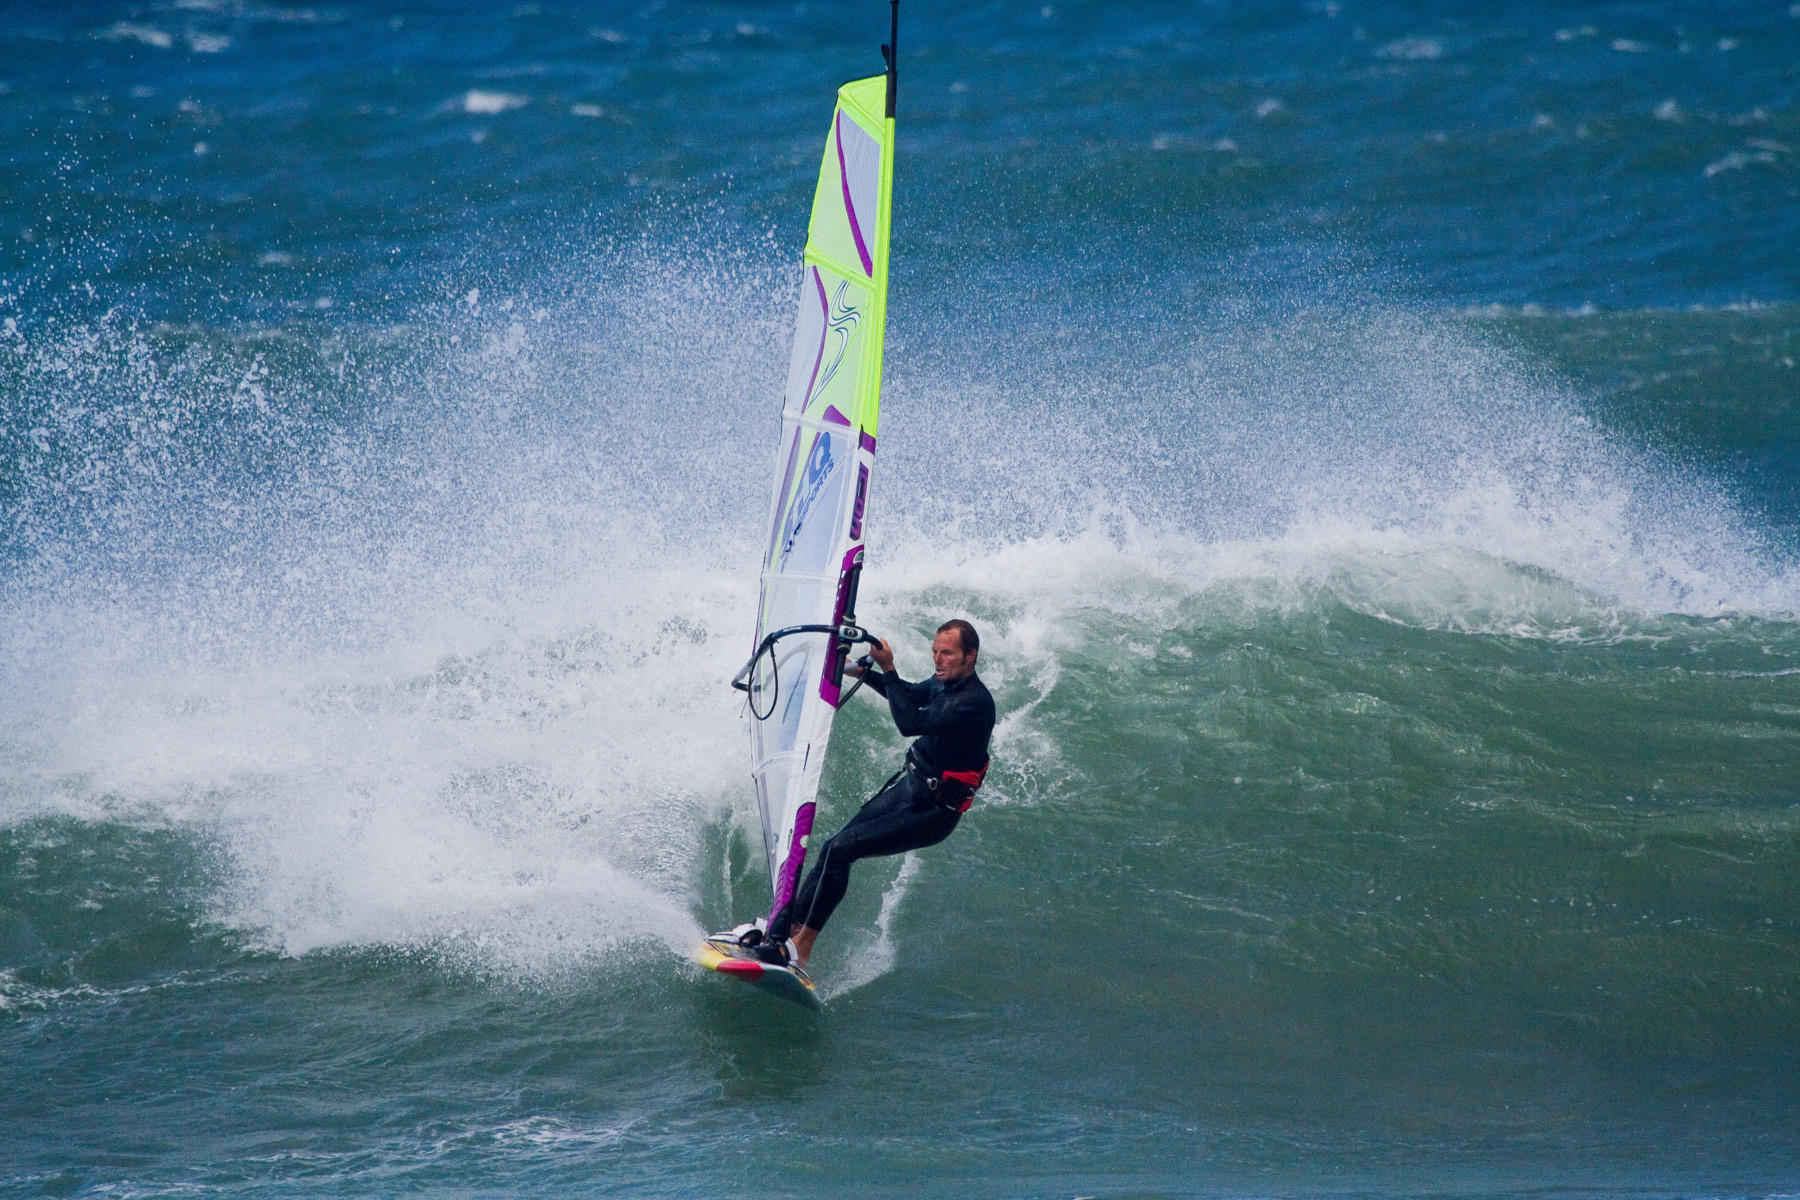
Above: setting up the proper Suicide section, deep on the reef. With enough swell and water on the reef, it is possible to backdoor the heavier section breaking over the suck rock for some decent high performance turns.
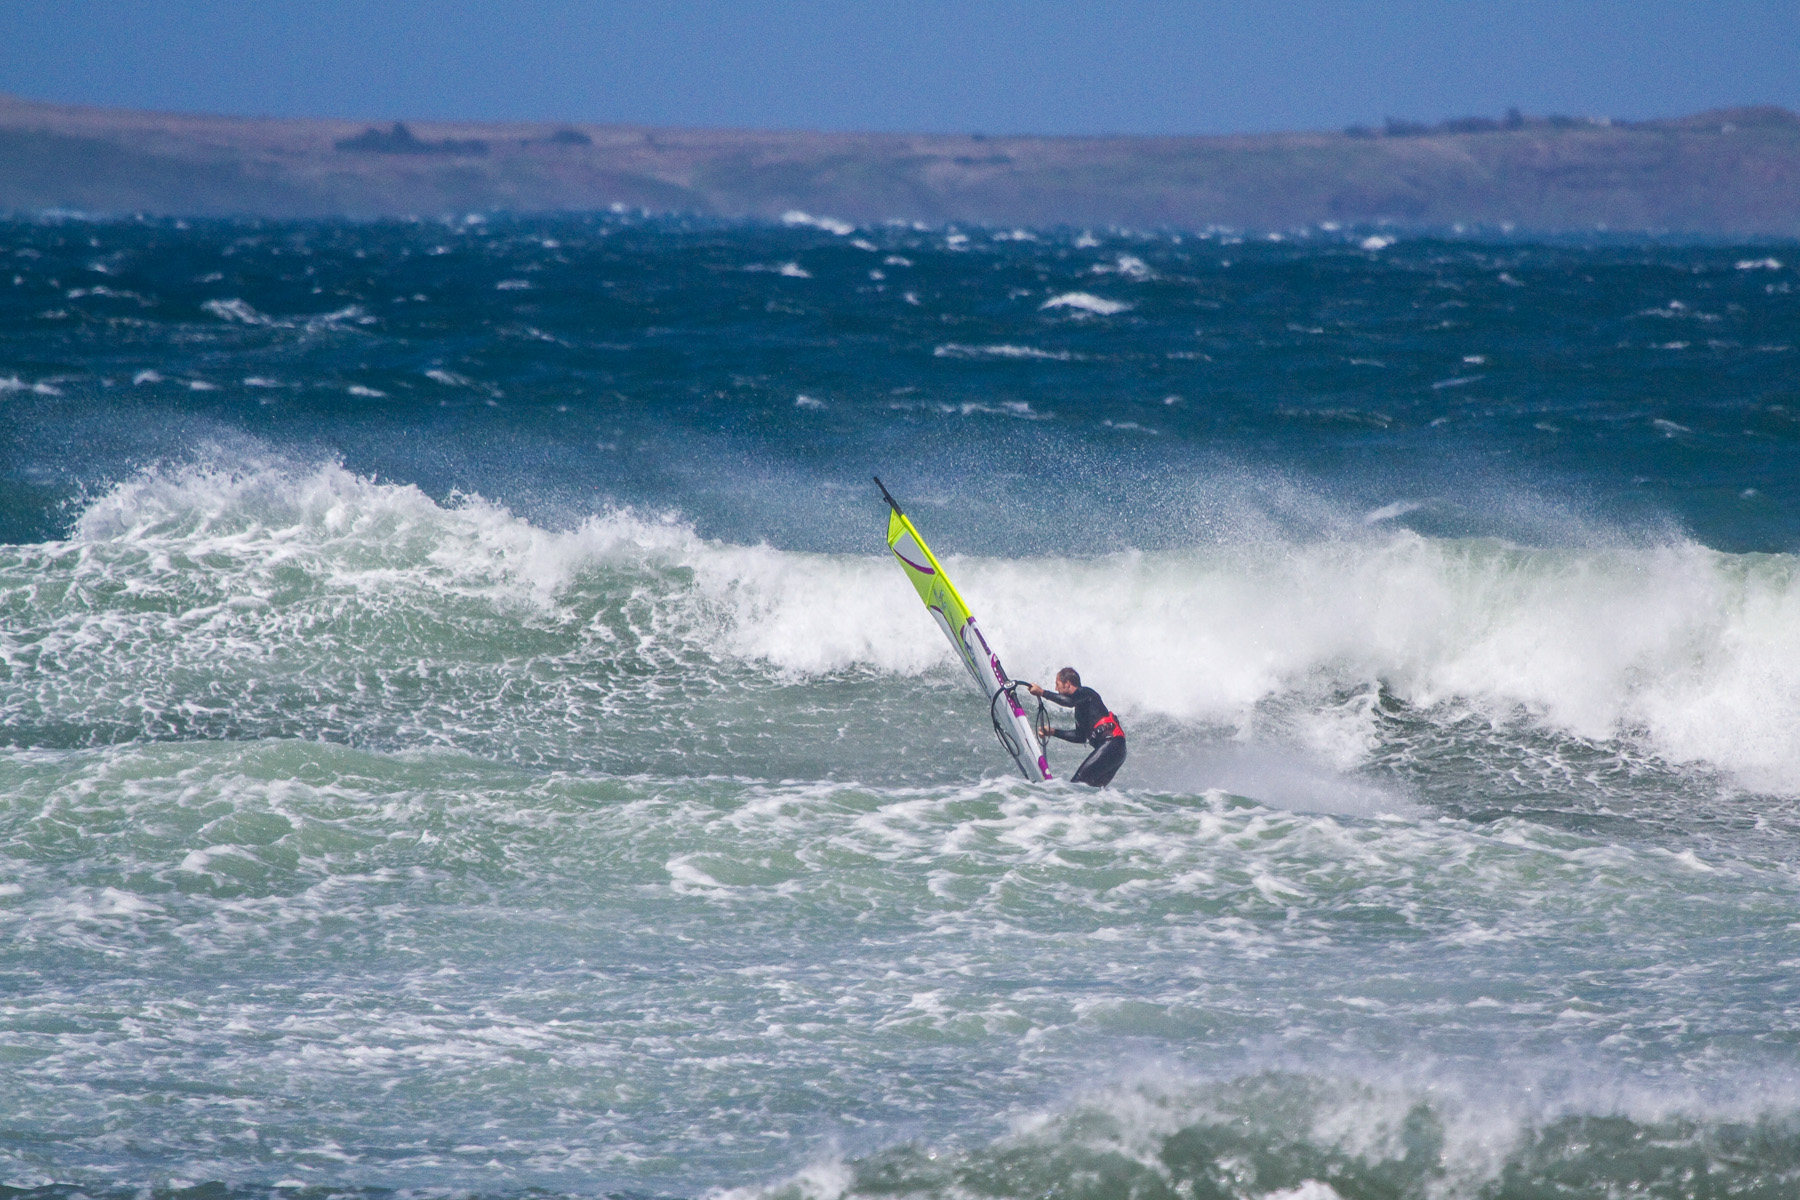
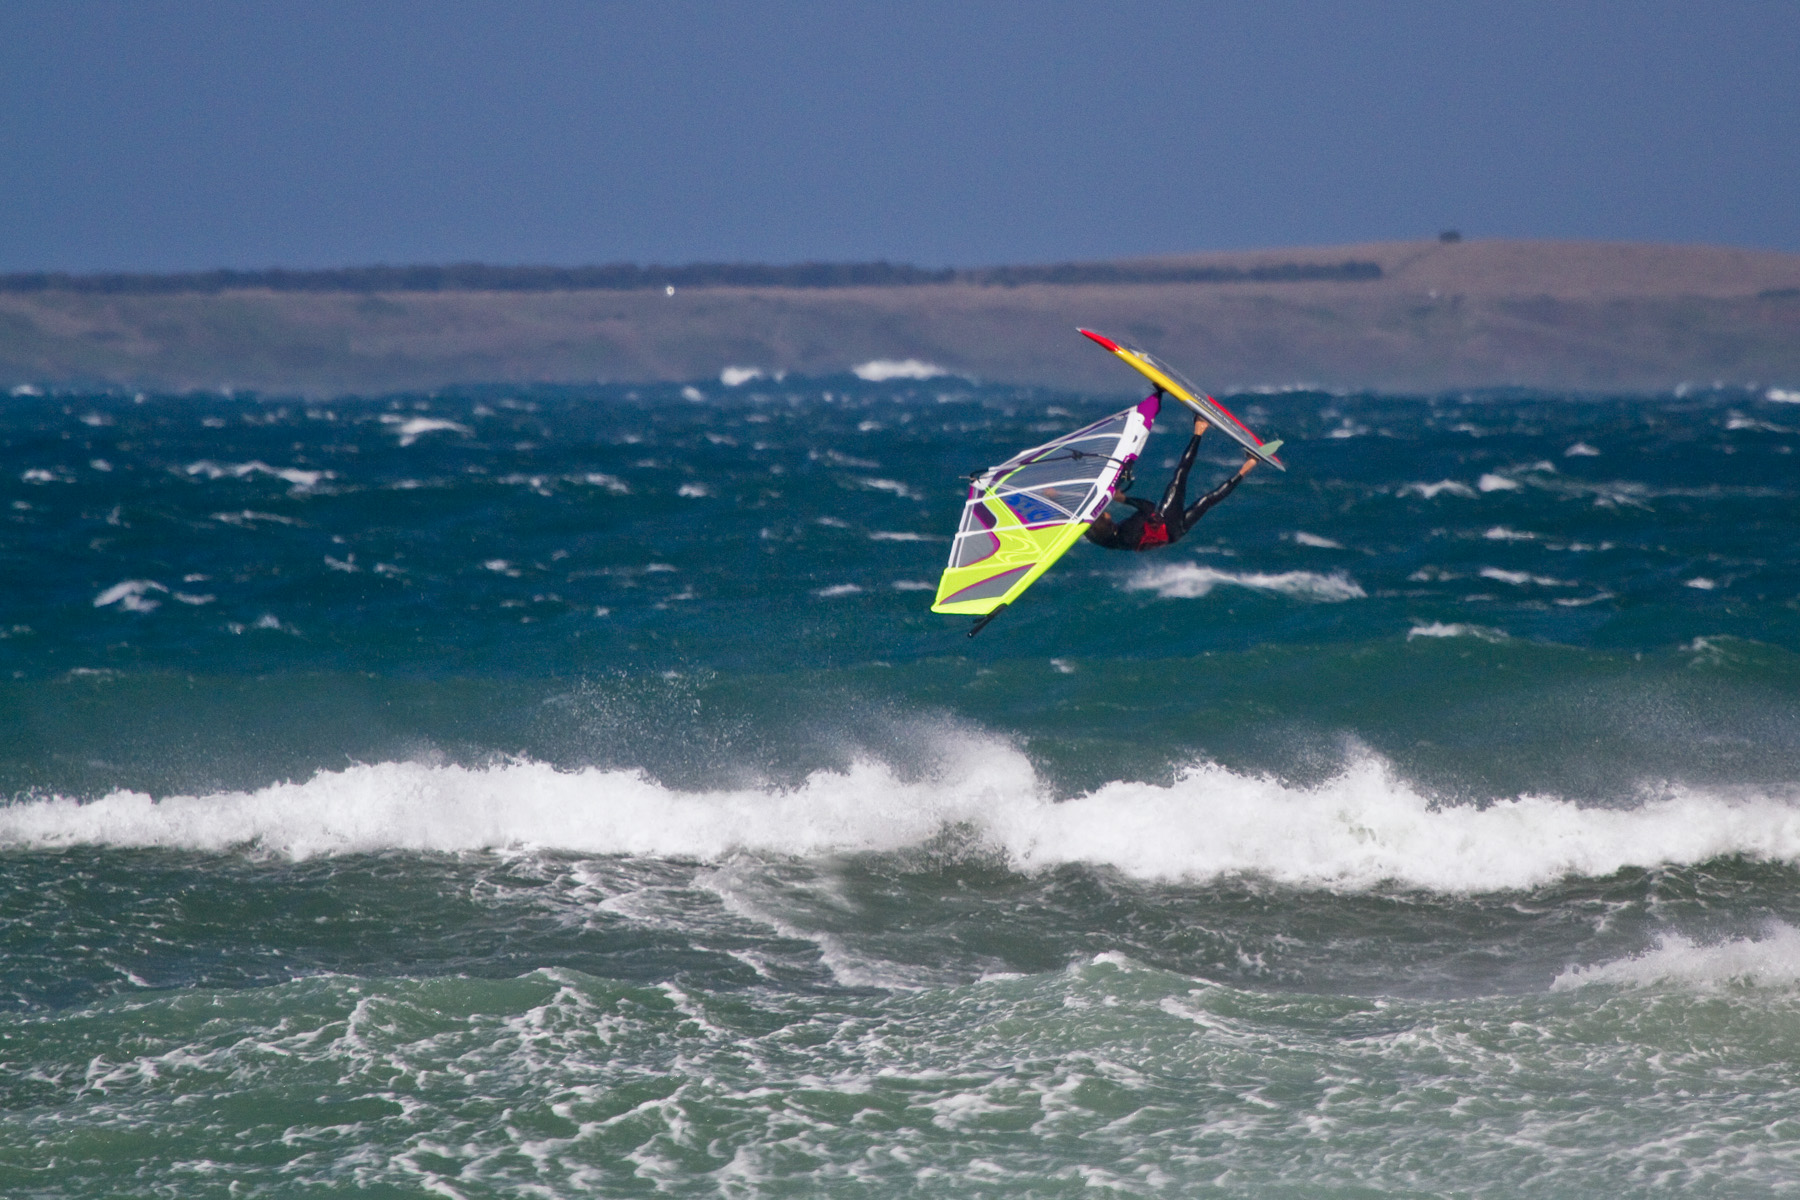
Below: Suicide offers good jumping on strong wind days, especially with more south in the wind. Stick close to the rocks upwind and bear downwind towards ‘The Hump’ section at full speed as a set approaches.
Forecasting Resources:
Suicide is regularly windsurfed, and is not especially difficult to forecast. A decent rule of thumb is to consider both Point Impossible on the Surf Coast and Suicide on the same sort of wind and swell forecast – but choose based on whether the tides are going to be low or high during the day.
Current Swell:
Check the swell forecast on Swellnet here, note that the Mornington Peninsula forecast is for the open beaches. 5-6ft on the open beaches is enough to consider Suicide as an option.
Check live readings from Pt Nepean Swell Buoy here. 2m+ swell, with a period over 12 seconds will have something. Good days would be 3m+ average swell with at least a 14 second period.
Use the Trigger Brothers webcams at Suicide, Crunchies and 2nd Reef to gauge swell size in the area and also to judge the wind strength and direction.
Current Wind:
The closest live wind readings to Point Leo are Cerberus and South Channel Island.
Cerberus is useful for understanding the wind direction, usually understating the strength significantly. The wind strength on the water at Suicide is normally going to be a little less than what South Channel is reading.
Nearest Windguru Forecast:
Location:
Notes:
Swell Size:
Waves heights given in feet are ‘surfers’ size or Hawaiian Scale. Loosely this means a 3ft wave is head high, 4ft is overhead and 6ft is double overhead or mast high. Use the table below to roughly translate between surf forecasts and live swell readings at Point Nepean.
| Wave Size | Swellnet Forecast (Mornington Peninsula) | Point Nepean Swell Buoy (average height) |
|---|---|---|
| Small | 1-3ft | 0.3-0.9m |
| Medium | 3-5ft | 0.9-1.3m |
| Large | 4-6ft | 1.2-2m |
| Very Large | 6ft+ | 2.0m+ |
Swell period relates to the amount of energy in the swell, a sub 10 second period is low and will be weak. An average quality swell will be around 12-14 seconds and high period, high energy swells are typically over 15 seconds. Higher period swells will generally wrap further into more sheltered locations and lead to increased wave heights.
Disclaimer:
All information published here is for educational purposes only with no warranty, express or implied. In no event will any form of liability be accepted as the result of your use of information published on this site. You are responsible for your own safety in the ocean, educate yourself, maintain high levels of fitness, maintain your equipment and always act within your limits.
Photos:
Photos by Jodi Stevenson.